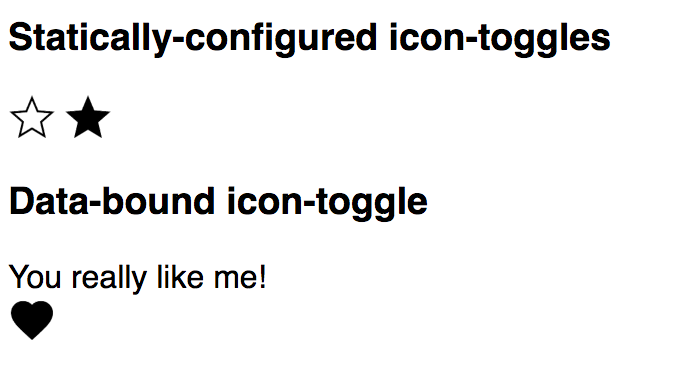
Add an event listener
Of course, a button isn't a button if you can't click it.
To toggle the button, add an event listener. Polymer lets us add event listeners with simple on-event annotations in an element's template. Modify your code to use the Polymer on-click annotation to listen for the button's click event:
icon-toggle.html
<iron-icon icon="[[toggleIcon]]" on-click="toggle"></iron-icon>
on-click is different from onclick. This is different from the standard element.onclick property. The dash in on-click indicates a Polymer annotated event listener.
The code above calls a method called toggle when the button is pressed.
Write a method to call when the event occurs
Now, create the toggle method to toggle the pressed property when the button is pressed. Place the toggle method inside the class definition for IconToggle, after the constructor.
icon-toggle.html
toggle() {
  this.pressed = !this.pressed;
}
Your code should now look like this:
icon-toggle.html
<script>
  class IconToggle extends Polymer.Element {
    static get is() {
      return 'icon-toggle';
    }
    static get properties() {
      return {
        pressed: {
          type: Boolean,
          notify: true,
          reflectToAttribute: true,
          value: false
        },
        toggleIcon: {
          type: String
        }
      }
    }
    constructor() {
      super();
    }
    toggle() {
      this.pressed = !this.pressed;
    }
  }

  customElements.define(IconToggle.is, IconToggle);
</script>
Save the icon-toggle.html file and look at the demo again. You should be able to press the button and see it
toggle between its pressed and unpressed states.

Learn more: data binding. To see how the demo works, open demo-element.html
and take a look around (if you downloaded the code, you'll find this file in the demo folder.)
Yes, the demo for this element is also an element. The
element uses two-way
data binding and a computed
binding to change the string displayed when you toggle the button.


